Micro:bitのブロックプログラミング環境であるMakecodeでは、拡張機能を使ってブロックを追加する事ができます。自分で拡張機能を追加できます。また、他の方(会社)が作成した拡張機能を修正する事もできます。一番身近な利用例はブロックの日本語化の支援をする時と思います。この記事では、最近Ring:bit Car V2を購入して拡張機能を使用したのですが、日本語が分かりにくいので修正した時の経験を備忘録兼ねて纏めてみました。拡張機能作成や修正に関する情報がなかなか見つからず、苦労しましたので。
1.当記事の前提
・ウインドウズ10パソコンを使用している
・Github ユーザーアカウントを持っており、使い方を理解している
フォーク、クローンなどを使用します
・DOSコマンドプロンプトでDOSコマンドを使える
2.前提ソフトウエア『NodeJSとPXT』の導入
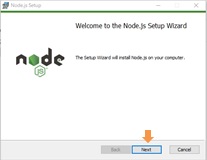
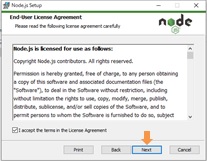
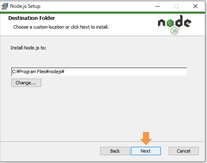
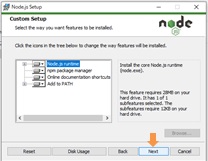
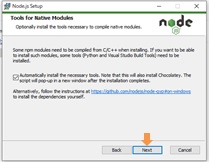
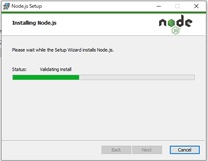
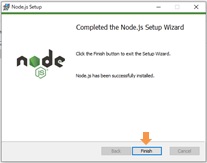
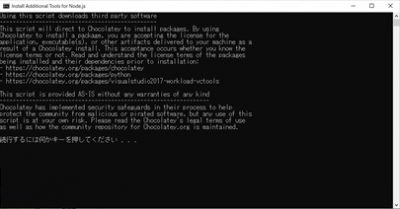
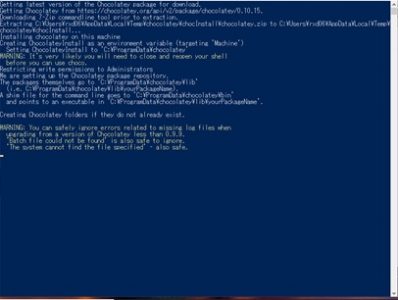
A.https://nodejs.org/en/download/ からWindows用のLTSをダウンロードして導入してください。
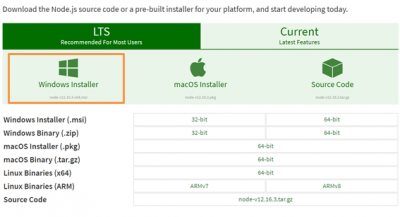
Node.jsとは:Webサーバー側でJavaScriptが動くようにしてくれるプラットフォームのようなものです。(JavaScriptはWebクライアント上でページに動きを追加できるプログラミング言語)
B.DOSコマンドプロンプトからpxtコマンドツール群を導入します。
|
1 |
npm install -g pxt |
pxtコマンドツールとは:Microsoft Programming Experience Toolkit (PXT)で、Makeodeはこれをベースに開発されています。
3.Makecode ローカル環境の構築
1.GithubでMakecodeリポジトリーをフォークします。
|
1 |
https://github.com/puziro/pxt-microbit |
2.フォークしたリポジトリーを自分のパソコンのC:\にクローンします。クローン後DOSコマンドdirを実行すると以下のようになります。
|
1 2 3 4 5 6 7 8 9 |
C:\>dir px* ドライブ C のボリューム ラベルは Windows です ボリューム シリアル番号は 08E3-9EEE です C:\ のディレクトリ 2020/04/26 16:17 <DIR> pxt-microbit 0 個のファイル 0 バイト 5 個のディレクトリ 130,683,293,696 バイトの空き領域 |
3.pxt-microbitディレクトリーに移動して、『nmp install』を実行します
|
1 2 3 4 5 6 7 8 9 10 11 12 |
C:\pxt-microbit>npm install npm WARN deprecated request@2.81.0: request has been deprecated, see https://github.com/request/request/issues/3142 npm WARN deprecated hawk@3.1.3: This module moved to @hapi/hawk. Please make sure to switch over as this distribution is no longer supported and may contain bugs and critical security issues. npm WARN deprecated hoek@2.16.3: This version has been deprecated in accordance with the hapi support policy (hapi.im/support). Please upgrade to the latest version to get the best features, bug fixes, and security patches. If you are unable to upgrade at this time, paid support is available for older versions (hapi.im/commercial). npm WARN deprecated boom@2.10.1: This version has been deprecated in accordance with the hapi support policy (hapi.im/support). Please upgrade to the latest version to get the best features, bug fixes, and security patches. If you are unable to upgrade at this time, paid support is available for older versions (hapi.im/commercial). ..... 省略 ..... found 23 vulnerabilities (6 low, 14 moderate, 3 high) run `npm audit fix` to fix them, or `npm audit` for details C:\pxt-microbit> |
4.Makecode ターゲットが作成されましたので、『pxt serve --cloud』で実際にローカル環境でMakecodeが稼働するか確認します
|
1 2 3 4 5 6 7 8 9 10 11 12 13 |
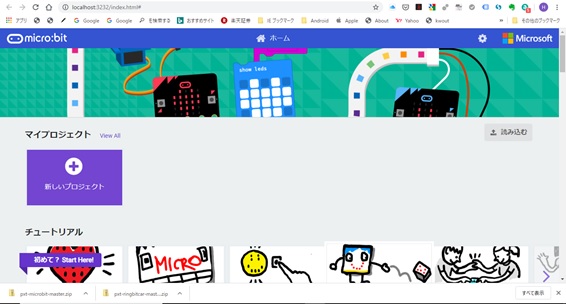
C:\pxt-microbit>pxt serve --cloud Using target microbit with build engine yotta target: v2.3.23 C:\pxt-microbit pxt-core: v5.37.34 C:\pxt-microbit\node_modules\pxt-core log strings: 31 files; 9 strings -> sim-strings.json ..... 省略 ..... To launch the editor, open this URL: http://localhost:3232/#local_token=89801fb5-2680-4503-db21-6dff33231de0&wsport=3233 --------------------------------------------- opening http://localhost:3232/#local_token=89801fb5-2680-4503-db21-6dff33231de0&wsport=3233 |
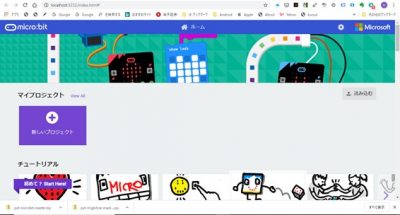
5.4の実行途中でエラーメッセージも出ますが、問題が無ければいつも使用しているウエブブラウザーが自動的に開きMakecodeが動きます
5.これで以降の前提作業が完了しました
4.翻訳したいGithubリポジトリーのクローンと翻訳変更
1.日本語訳を修正したい拡張機能をGithubでフォークします。以下はRing:bit car V2の拡張機能の例です。
|
1 |
https://github.com/Tinkertanker/pxt-ringbitcar |
2.フォークしたリポジトリーを自分のパソコンのC:\にクローンします。クローン後DOSコマンドdirを実行すると以下のようになります。
|
1 2 3 4 5 6 7 8 9 10 |
C:\>dir pxt* ドライブ C のボリューム ラベルは Windows です ボリューム シリアル番号は 08E3-9EEE です C:\ のディレクトリ 2020/04/26 16:17 <DIR> pxt-microbit 2020/04/26 14:17 <DIR> pxt-ringbitcar 0 個のファイル 0 バイト 5 個のディレクトリ 130,683,293,696 バイトの空き領域 |
3.pxt-ringbitcarディレクトリー内に『_locales』ディレクトリーがあります。この中の『ja』ディレクトリー内の『RingbitCar-strings.json』が日本語メッセージファイルです。以下、古いバージョンのメッセージファイルです。例えば、『左の車輪を設置する %left | 右の車輪を設置する %right』ですが、日本語として分かりにくいので、これを修正したいと考えました。
|
1 2 3 4 5 6 7 8 9 10 11 12 13 |
{ "RingbitCar|block": "RingbitCar", "RingbitCar.init_wheel|block": "左の車輪を設置する %left|右の車輪を設置する %right", "RingbitCar.forward|block": "急速な前進", "RingbitCar.back|block": "急速な後ろ向き", "RingbitCar.turnleft|block": "左へ曲がる", "RingbitCar.turnright|block": "右へ曲がる", "RingbitCar.brake|block": "停車", "RingbitCar.freestyle|block": "左の速度を設置する %m| 右の速度を設置する %n", "RingbitCar.tracking|block": "パトロールヘッドを設置%state", "RingbitCar.ringbitcar_sonarbit|block": "超音波測距 %distance_unit" } |
上記のメッセージファイルの場合のブロックは以下のようになります。
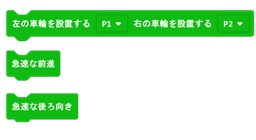
4.上の3つのブロックのメッセージを変更した例が以下となります。
|
1 2 3 |
"RingbitCar.init_wheel|block": "左のサーボを %left にセット|右のサーボを %right にセット", "RingbitCar.forward|block": "前進", "RingbitCar.back|block": "後進", |
ブロックは以下のようになります。

5.修正が終わったら、c:\pxt-ringbitcarをc:\pxt-microbit\libs\にコピーします。
6.c:\pxt-microbit\libs\pxt-ringbitcarの名前を変更してc:\pxt-microbit\libs\RingbitCarにします。
上記手順完了後にlibsディレクトリーを表示すると以下のようになります。
|
1 2 3 4 5 6 7 8 9 10 11 12 13 14 15 16 17 18 19 20 |
C:\pxt-microbit\libs>dir ドライブ C のボリューム ラベルは Windows です ボリューム シリアル番号は 08E3-9EEE です C:\pxt-microbit\libs のディレクトリ 2020/04/26 16:09 <DIR> . 2020/04/26 16:09 <DIR> .. 2020/04/26 16:02 <DIR> blocksprj 2020/04/26 16:16 <DIR> bluetooth 省略.... 2020/05/06 10:26 <DIR> RingbitCar 2020/04/26 16:16 <DIR> servo 2020/04/26 16:02 <DIR> test-snippets 2020/04/26 16:02 232 tsconfig.json 2020/04/26 16:02 <DIR> tsprj 1 個のファイル 232 バイト 17 個のディレクトリ 124,584,046,592 バイトの空き領域 C:\pxt-microbit\libs> |
7.c:\pxt-microbit\pxtarget.jsonをエディターで編集して、 “bundleddirs”エントリーにlibs/RingbitCarを追加します。以下のようになります。
|
1 2 3 4 5 6 7 8 9 10 11 12 13 14 15 16 17 |
{ "id": "microbit", "nickname": "microbit", "name": "makecode.microbit.org", "title": "Microsoft MakeCode for micro:bit", "description": "A Blocks / JavaScript code editor for the micro:bit powered by Microsoft MakeCode.", "corepkg": "core", "bundleddirs": [ "libs/core", "libs/radio", "libs/devices", "libs/bluetooth", "libs/servo", "libs/radio-broadcast" , "libs/RingbitCar" ], 以下省略 |
8.c:\pxt-microbit\libs\RingbitCar\pxt.jsonをエディターで編集して、 “bundleddirs”エントリー内の”core”エントリーを”file:../core”に修正します。また、”description”エントリーを自分の修正版であることが分かるように修正します。以下のようになります。
|
1 2 3 4 5 6 7 8 9 10 |
{ "name": "RingbitCar", "version": "2.1.1", "description": "ELECFREAKS ring:bit car_Hiro", "license": "MIT", "dependencies": { "core": "file:../core", "neopixel": "github:elecfreaks/pxt-neopixel" }, 以下省略 |
9.c:\pxt-microbit\libs\RingbitCarでpxt installを実行します。以下のようになります。
|
1 2 3 4 5 6 7 8 9 |
C:\pxt-microbit\libs\RingbitCar>pxt install Using target microbit with build engine yotta target: v2.3.23 C:\pxt-microbit pxt-core: v5.37.34 C:\pxt-microbit\node_modules\pxt-core installing dependencies... Downloading elecfreaks/pxt-neopixel/master -> 9df400357be366d922371fe627e3eebcb1647a40 Downloading Microsoft/pxt-ws2812b/v0.0.4 -> 20b483d099a2b583275ca572184be582c35ab22e C:\pxt-microbit\libs\RingbitCar> |
10.これでRingbitcarが含まれたMakecodeを実行するためにc:\pxt-microbitでpxt serve --cloudを実行します。以下のようになります。
|
1 2 3 4 5 6 7 8 9 10 11 12 13 14 15 16 |
C:\pxt-microbit>pxt serve --cloud Using target microbit with build engine yotta target: v2.3.23 C:\pxt-microbit 省略... building fieldeditors... [run] cd fieldeditors; node ../node_modules/typescript/bin/tsc Starting server in C:\pxt-microbit With pxt core at C:\pxt-microbit\node_modules\pxt-core starting local ws server at 3233... --------------------------------------------- To launch the editor, open this URL: http://localhost:3232/#local_token=42176dde-aa0f-49c3-47a9-d11b2f4b208b&wsport=3233 --------------------------------------------- opening http://localhost:3232/#local_token=42176dde-aa0f-49c3-47a9-d11b2f4b208b&wsport=3233 |
11.10の実行途中でエラーメッセージも出ますが、問題が無ければいつも使用しているウエブブラウザーが自動的に開きMakecodeが動きます。

12.RingbitCar拡張機能が追加されたか確認するために、『新しいプロジェクト』をクリックします。『プロジェクトに名前をつけてください』メッセージが表示されますので、適当な名前を入力して作成をクリックします。

13.高度なブロックをクリックします。
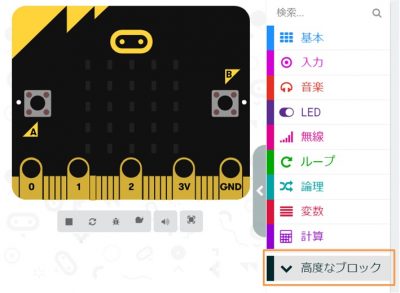
14.高度なブロックの一番下の拡張機能をクリックします。
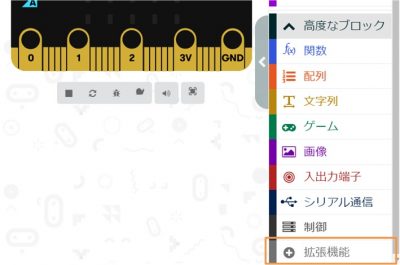
15.RingbitCarが追加されていますのでクリックします。ステップ8で追記したdescriptionが表示されていますので、自分が追加した拡張機能であると確認できます。

20.RingbitCarのブロックが追加されました。
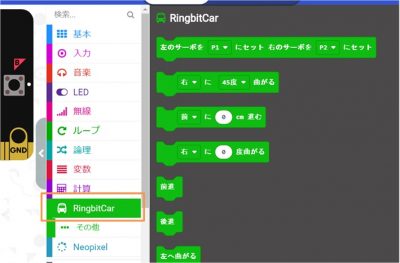
これでローカル環境でMakecodeが構築できました。この環境で日本語が問題無い事をテストして、完成したら開発者の方にgithubでpullして、正式版に組み込んでもらう事になります。pullの方法は改めて別の機会に紹介します。


コメントを書く